Creating augmented reality isn’t as difficult as you may expect. With our AR creator tool anyone can create augmented reality -- with no coding skills required. The first augmented reality tutorial in our series will help you get to grips with scenes. Read on to get started, and check out parts 2 and 3 when you're ready.
Augmented reality tutorial for beginners: Creating scenes
September 13, 2018
Augmented reality tutorial for beginners: Creating scenes

- Part 2: Augmented reality animation
- Part 3: Augmented reality 3D models
Scenes are the core of how many AR experiences are made. Like slides of a presentation, they underpin the structure and user journey of AR experiences. Scenes can simply link from one piece of AR content to another, create games, or replicate the functionality of a mini app.
You can use scenes to create an AR quiz. For example, you could create a quiz to help potential customers work out which product in your range would be the best fit for them, straight from scanning the product packaging in a shop.
How to use scenes to make an AR quiz
Step 1
Upload your assets -- you’ll need images for the quiz questions, answers and buttons. Select the ‘Uploads’ button, choose the files you want to upload and click ‘open’ -- you can upload multiple assets at a time. Your files will appear in the assets panel on the left hand side.

Step 2
To create your first question, drag and drop the assets you need onto the canvas.
Step 3
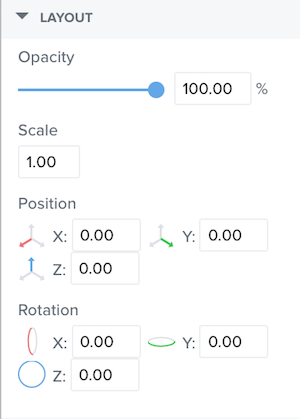
Resize, arrange and align each of your assets to how you want your quiz interface to look. You can use the X and Y axes to make sure everything is aligned neatly. By changing the values of these axes, you can change the alignment of the asset horizontally (X-axis) and vertically (Y-axis).

Step 4
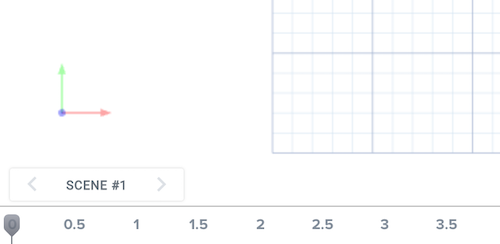
Create scenes for your quiz -- these are like the different slides of a presentation. Think about where you want your user to go from your first quiz scene. For example, if you have two multiple choice options, a user will either need to be linked to the ‘correct answer’ scene, or ‘incorrect answer’ scene. Click on the ‘Scene’ button in the bottom left hand corner to open the scene manager and add new scenes -- rename them to help you organise.

Step 5
You now need to make your assets -- the quiz buttons -- interactive, to let your user link to the different scenes. Select the asset for your first quiz answer -- for example, the correct answer -- and in the settings pane on the right hand side, select ‘Go to scene’ from the drop-down menu. Then, select which scene you want it to link to -- in this case, it’s the ‘correct answer’ scene you created in step 4.
Step 6
Repeat the process until you have created each question of your quiz! The result will be a quick, fun experience that launches in augmented reality.
To get started with creating augmented reality, sign up to our AR creator tool for a free trial. We look forward to seeing what you create!


