We’ve developed our WebAR SDK toolkit to be as easy to use as possible, removing access barriers to as many AR creators and developers as we can, because we believe the world - and the AR community - is a better place with more creators.
That said, any new toolkit or software takes a little time to master, so we’ve outlined the initial steps to get you started with WebAR SDK. A full and comprehensive user guide can also be found here.
Our support team is also on hand to help at any stage of your project - whether you’re just starting out or want tips on how to really push the limits of your AR experience. Contact details are here (and there’s even a handy Slack channel for all your questions!)
While we’ve developed some example code and experiences for you to test out and build on, we know for a fact that the community will be able to push what’s possible with WebAR SDK further than we could dream of - and we’re excited to see what users will create.
Introduction: What is WebAR SDK?
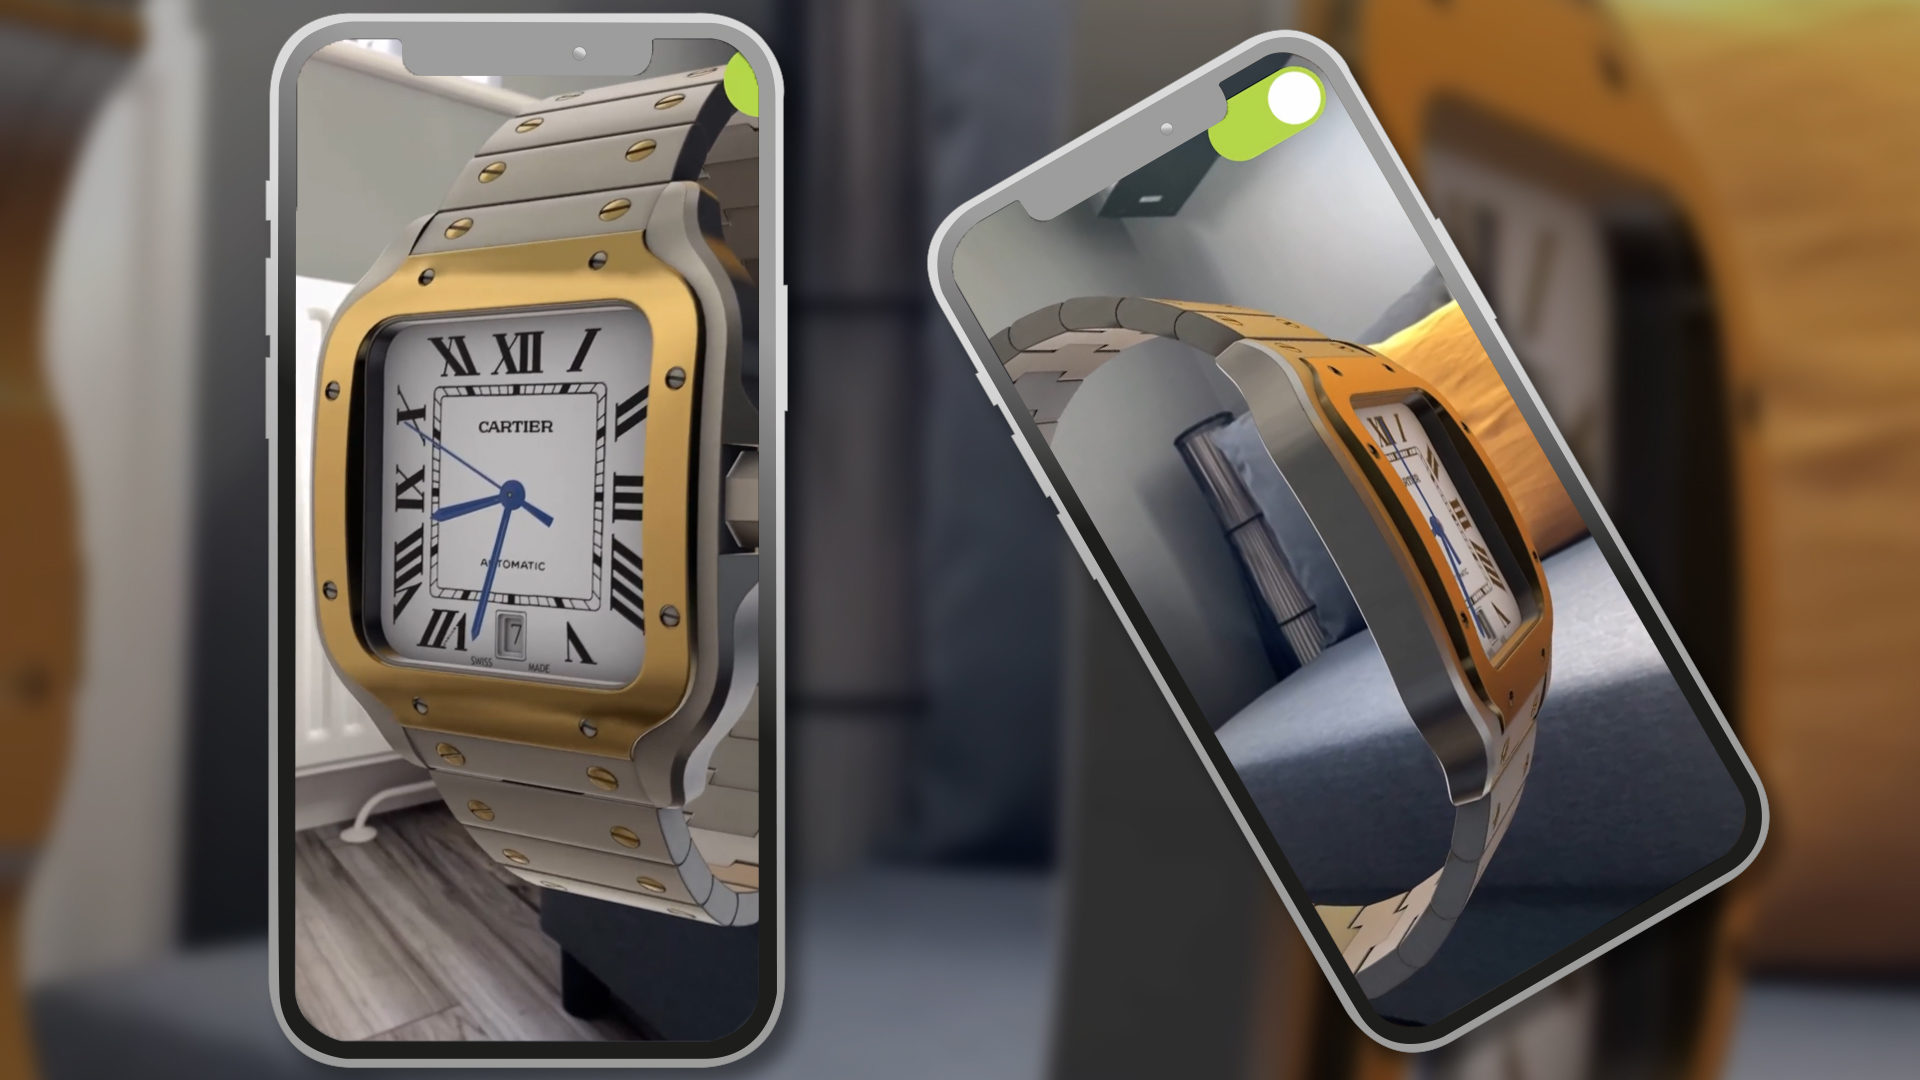
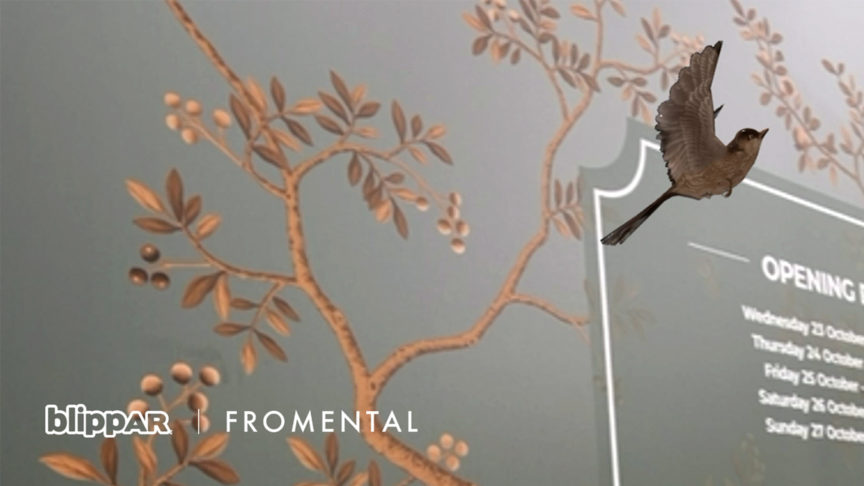
Blippar WebAR SDK is a software development toolkit that enables you to create AR experiences that run on mobile web browsers - so they can be accessed by anyone with internet access, through platforms including Facebook, TikTok, WeChat, and WhatsApp. With WebAR SDK, you can easily create AR experiences that interact realistically with objects and environments using WebGL-based 3D content and/or operable HTML elements.
WebAR SDK is also a library of classes that interact with different application programming interfaces (APIs) to build a custom range of augmented reality and plane detection features that can be incorporated into third party applications.
Getting started
Getting started with WebAR SDK is as simple as signing up (or logging in if you’re an existing user), getting a license to publish your AR experiences, and then downloading and installing the WebAR SDK toolkit - no apps required!
WebAR SDK will always be free to sign up for - as part of our commitment to removing barriers to access for as many AR creators as possible - and during our Beta phase you’ll be able to build and publish an unlimited number of experiences, free of charge.
Getting Creative
We’ve created our WebAR SDK toolkit with AR developers and creatives in mind. Our ‘pick up and play’ Blippbuilder creation tool is designed with drag and drop functionality to enable anyone to create their own AR experiences - but WebAR SDK is Blippbuilder’s ‘bigger brother’, giving developers with coding experience much more freedom to build bespoke, immersive experiences from the ground up.
That said, we’ve launched WebAR SDK alongside a number of example experiences and provided the full code so that anyone can experiment with them - AR enthusiasts will be able to get to grips with the toolkit and teach themselves how to develop immersive experiences with just a few lines of code.
Creating an experience begins with developing an HTML document in your preferred editor, adding in a WebAR scene and WebAR camera, loading 3D assets and models, and deploying to your web server. A full step by step walkthrough, and example HTML code, is available here.
At launch, our WebAR SDK is bundled with A-Frame’s framework to enable you to build your AR experiences. To learn more about A-Frame, please head here. Future versions of WebAR SDK will include the ability to use multiple frameworks, so watch this space.
Ready, set, launch!
After you have deployed your experience to a web server (or developed and hosted locally) you should be ready for launch! Your new, immersive AR experience will be accessible through any modern browser, but we have extensively tested with Safari (iOS) and Chrome (Android) to ensure it will work with the two most popular.
Whether it’s an experience that models your dream car in your driveway, fills your front room with AR Christmas lights, or one that opens up a portal to your dream holiday destination, all WebAR SDK experiences are launched in the same way.
Navigating to your dedicated URL for the experience (tips on setting this up can be found here), you should be greeted by the loading screen - then it’s simply a case of pointing your mobile device camera at a lightly patterned surface (nothing too light, too dark, or too shiny please) and moving the camera slowly left and right.
Your fully modelled, immersive 3D AR experience will then become an (augmented) reality once the surface has been detected. Thanks to our advancements in SLAM technology, your experience will be firmly attached relative to the ‘real world’ around you, meaning you can move your device camera around, and your experience will stay firmly in place.
Congratulations - you’ve just launched an immersive AR experience and pushed the boundaries of what’s possible with AR. We would love to see what you’ve created, so please make sure to share your experiences online and tag us - we’re @blippar on Twitter. WebAR SDK


